For many of us, Google Authenticator is becoming increasingly vital. It provides two-factor authentication to your most important accounts by requiring you to use your smartphone to enter a randomly generated key in addition to your regular password.
How to add a Google Authenticator account
Before you begin, make sure the account you’re linking is ready. Most major services employ two-factor authentication, usually found in the Security section of their setting’s menus. (Settings & Privacy -> Security & Account Access -> Security -> Two-Factor Authentication on Twitter Desktop, for example) You’ll be able to utilize either a QR code or a text code (or both). Follow these procedures once you have this code:
- Install Google Authenticator
- Tap Get Started in Google Authenticator.
- Tap Enter a setup key or scan a QR code (Choose the option suggested by your service).
- After scanning/entering your code, you’ll be taken to your home screen after scanning/entering your code.
- Use the + button in the bottom right corner to add another account.
How can I transfer my phone’s codes to a new one?
It’s critical to remember to transmit your codes while switching phones if you’ve set up 2FA. Follow these procedures after your new phone is ready to use:

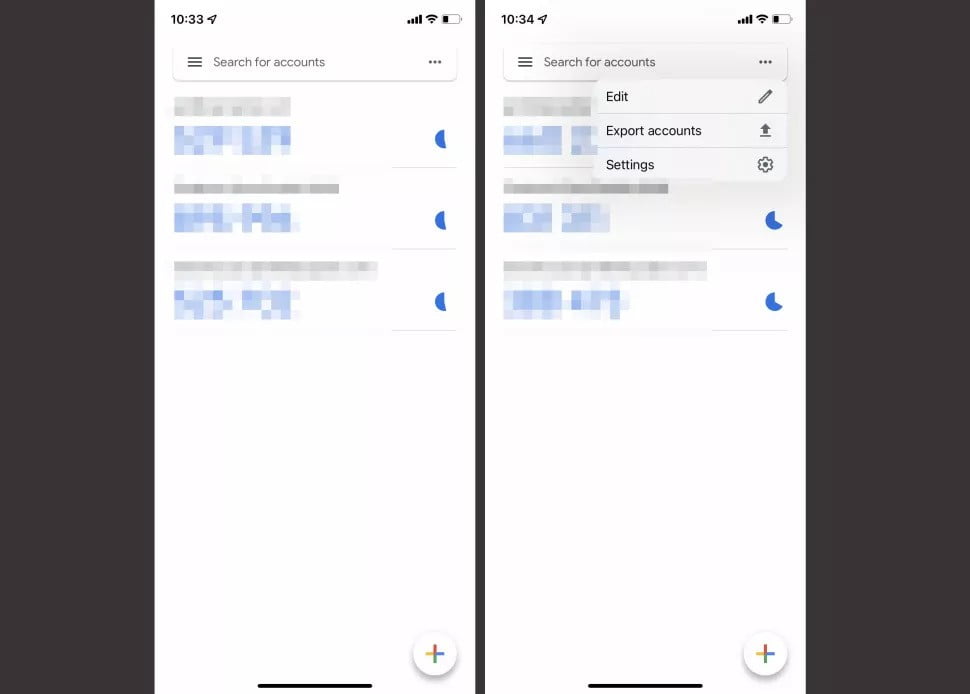
- Open Google Authenticator on your old phone and tap the three-dot menu in the upper right.
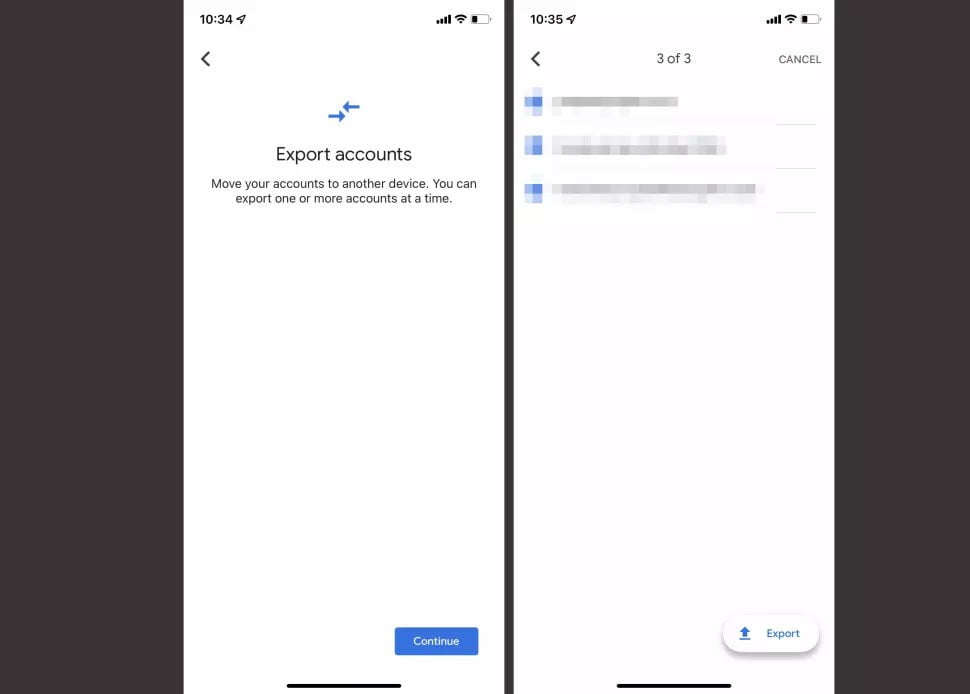
- Select Accounts to Export.
- Tap Next after selecting the accounts you want to transfer.
- A QR code will now appear on your old phone. To complete the process, switch to your new phone.
- On your new phone, download and install Google Authenticator.
- Tap Get Started in Google Authenticator.
- Select Import Existing Accounts from the drop-down menu.
- Scan the QR code by using the Scan QR Code button.
- Scanning the QR code provided by your old phone will transfer your accounts.
